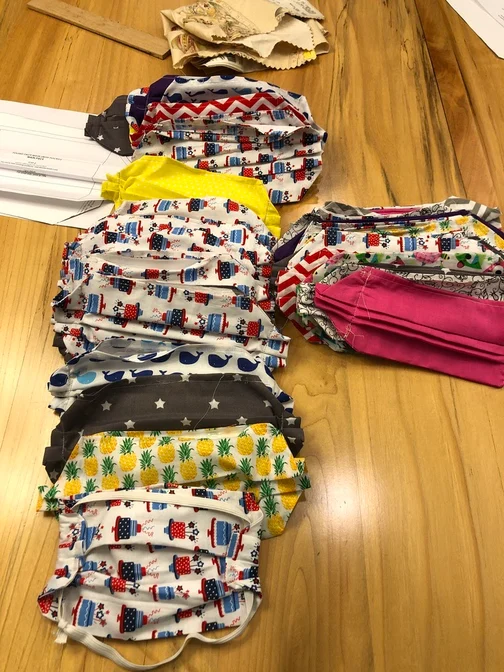
During the COVID-19 pandemic, team members from the Dermatology Center for Skin Health, PLLC, as well as friends and family, wanted to find a way to help its community. We identified a need for personal protective equipment to front-line providers. A friend, Mary Jo Hull, said it is possible to make masks out of air filters that help to block and capture viruses.
Dr. Michele Maouad said that the team could make masks from cloth with pockets and stuff them with the air filters! Dr. Rola Gharib saw the need, got the supplies together and organized the crew to make it happen fast! Kim Drvar designed the masks! Rhonda Assmus patiently taught us, rookies, how to sew!
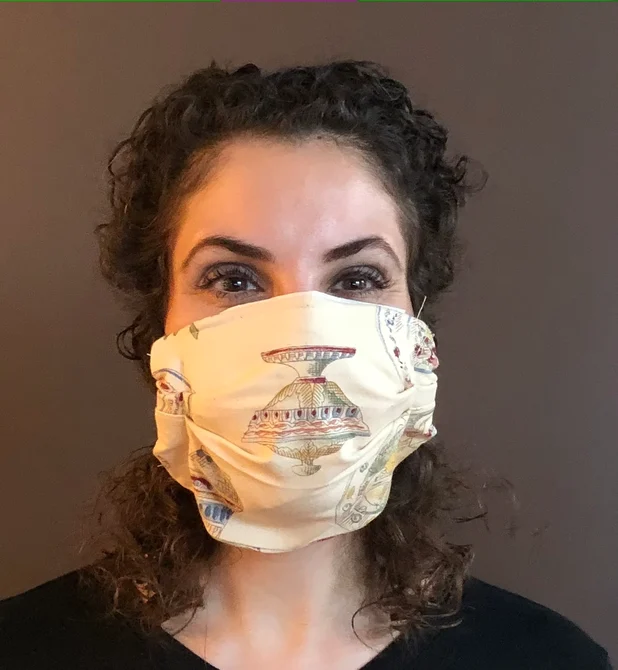
A whole team, including Dr. Maouad’s daughters, worked together to produce the final product! The craftsmanship is by no means perfect, given the rookies on the team; however, the mask is functional!
Learn how our team was able to make masks below.
ITEMS NECESSARY TO MAKE FACE MASKS
These masks can be made at home. Materials for these include:
- 3M brand 1900 Filtrete filters (used inside the masks as a filter)
- A pattern of your choice
- Cloth
- A sewing machine
- A piece of elastic band
INSTRUCTIONS TO MAKE THE FACE MASKS
Here is a six-step guide that you can use to make your mask. Feel free to play around with this to fit your mask goals:
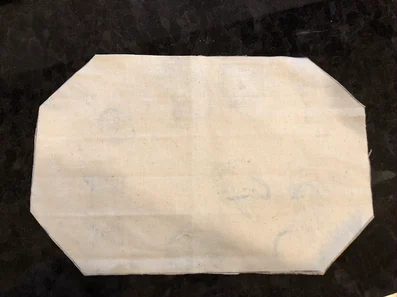
- Cut out two pieces of the pattern.
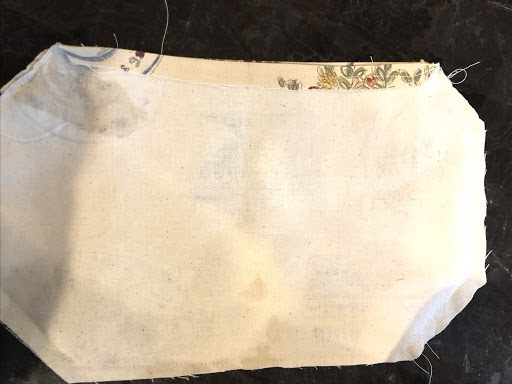
- On both pieces, separately sew a hem on one long side of the pattern. This hem will make the top side of the mask.
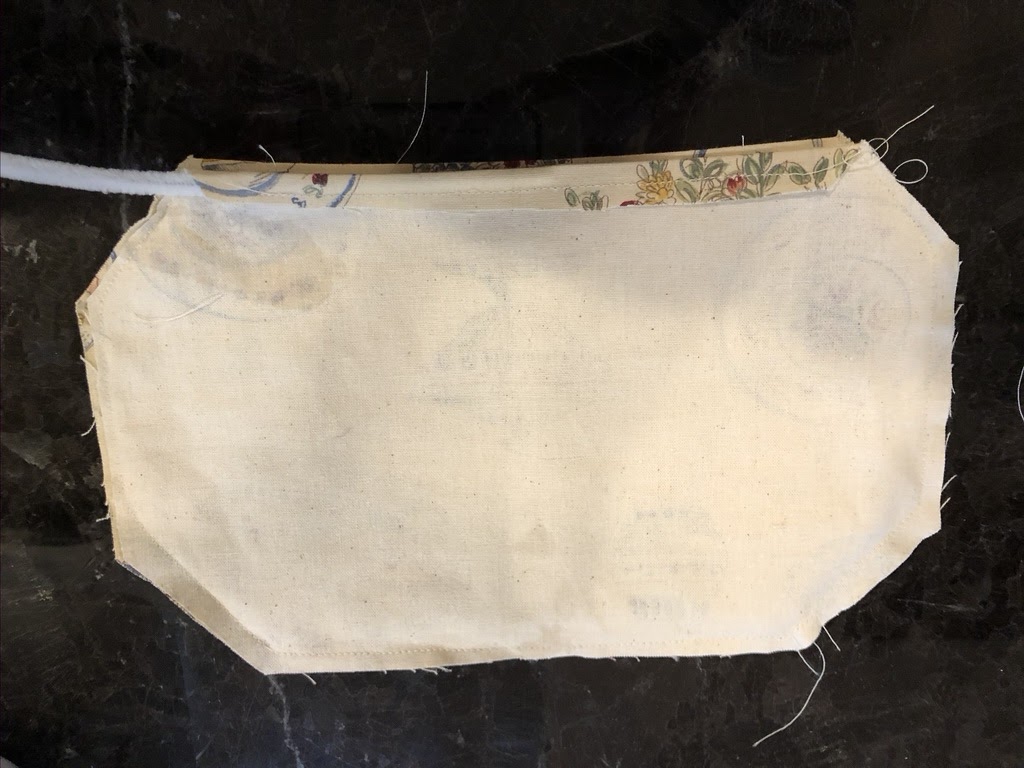
- Insert a pipe cleaner into one of the hemmed pieces to form the section to go over the nose at the top of the mask.
- With the decorative sides of the mask pieces facing each other, sew all three of the other sides together leaving the hemmed sides (top) you created in step two open.
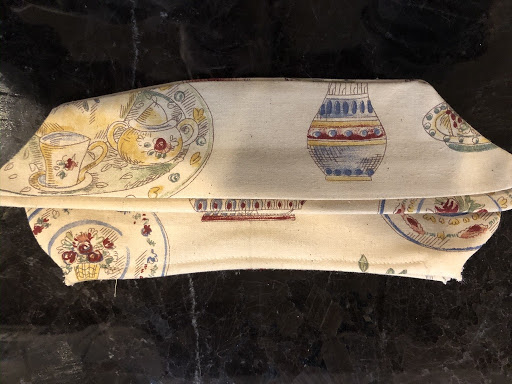
- Turn fabric right side out making sure to poke out all corners to get a clean shape.
- Iron to get all wrinkles out, this helps to get a straight pleat in Step 7-9.
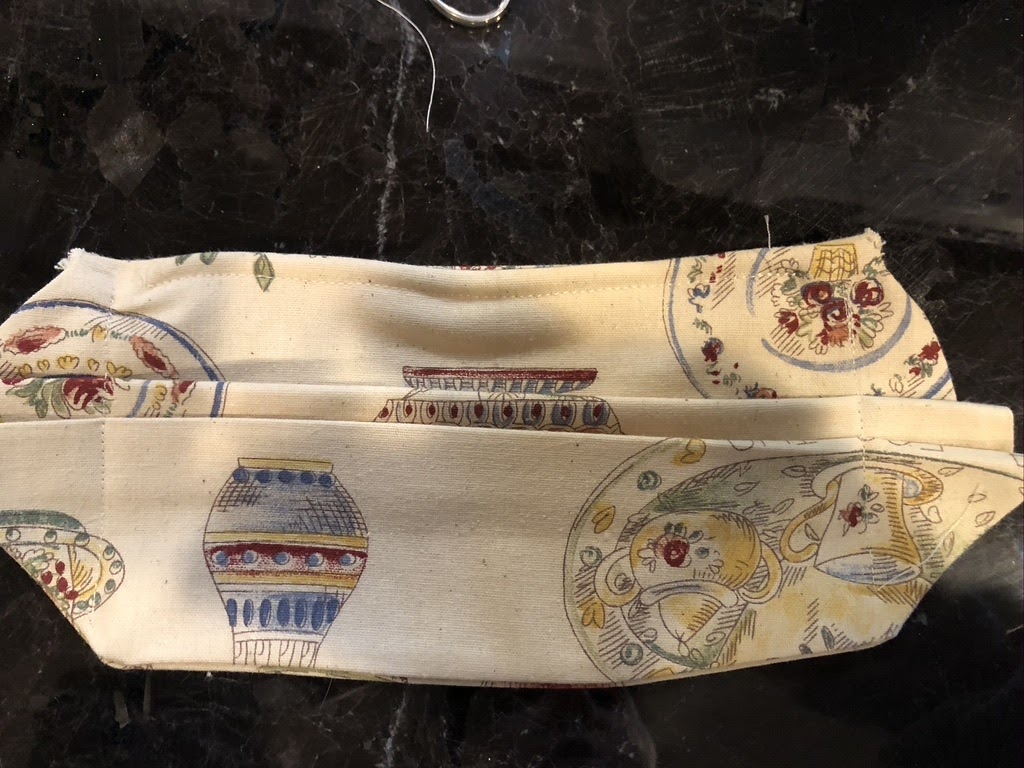
- Fold first pleat (½ inch) in designated area, (see example) iron the pleat and pin to hold into place.
- Repeat for the second pleat.
- Once pleats are folded and pinned, stitch into place starting at the top corner of the pattern.
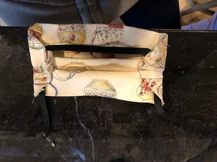
- On the backside of the mask, fold the pleated area over to create a loop on the sides of the mask where you would insert the elastic band.
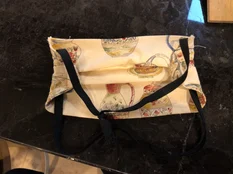
- Once the elastic band is inserted, tie or stitch it together.
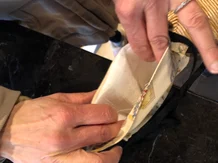
- Cut a piece of filter slightly smaller than the mask pattern so that it can be inserted into the mask.
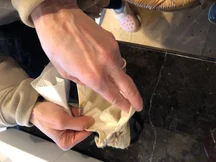
- Open the mask from the top and insert filter.
- The mask can be washed without the filter. The filter may be changed as needed.
 Step 1 Step 1 |  Step 2 Step 2 |  Step 3 Step 3 |
 Step 7 and 8 Create Folds Step 7 and 8 Create Folds | Step 9 Stitch Folds Into Place | Step 10 Fold To Create a Loop for the Elastic Band |
 Step 11 Insert Elastic Band Step 11 Insert Elastic Band | Finished Mask Without Filter | Step 13 Insert Filter |
ITEMS NECESSARY TO MAKE FACE MASKS
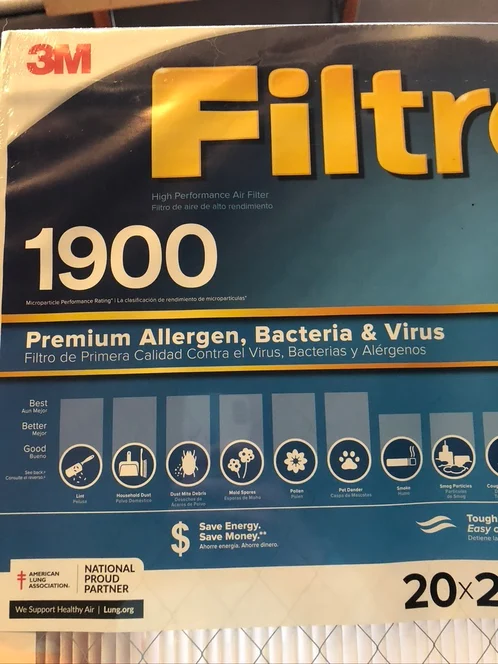
This is why you left the top of the mask open. Take your 3M filter, and carefully remove the wiring (be careful not to cut yourself as the metal can have sharp edges). We recommend wearing heavy-duty gloves to remove them. Flatten the filter (as it is folded like an accordion). Cut a piece that can fit in between the layers of the cloth mask you just sewed.
These masks will be donated to healthcare professionals in West Virginia to show our appreciation for all that they are doing. Our team wanted to share a simple way for individuals to make similar masks. We are hoping it is more protective than just cloth masks against COVID-19.
Dr. Rola Gharib


